Physical Address
304 North Cardinal St.
Dorchester Center, MA 02124
Physical Address
304 North Cardinal St.
Dorchester Center, MA 02124

How to Add an Existing HDD to RAID in a Dell Server
How to Add an Existing HDD to RAID in a Dell Server
Adding a new hard drive to an existing RAID configuration in a Dell PowerEdge server can help increase storage capacity without replacing the entire server.
However, adding a disk to an existing RAID is not the same as simply installing a hard drive and expecting Windows Server to show the additional space. The new physical disk normally needs to be configured through the Dell RAID controller, and the existing virtual disk may need to be expanded.
In this guide, we will explain how to add an HDD to an existing RAID configuration in a Dell PowerEdge server and how to verify the additional storage in Windows Server.
Important: RAID configuration changes can affect existing data. Always take a verified backup before modifying a production RAID configuration.
Before adding the new HDD, check the following:
The exact menu names can vary depending on the PowerEdge generation and PERC controller. Dell documentation covers different controllers such as PERC H730P, H740P, H755 and others.
Before adding a new HDD, first identify how the existing storage is configured.
For example, the server may have:
You should also note:
This information is important because not every RAID level supports expansion in the same way.
For example, Dell’s current documentation states that Online Capacity Expansion availability depends on the controller and RAID configuration; some newer controllers do not support OCE for RAID 10 or certain spanned RAID levels.
Restart the Dell PowerEdge server and enter the system configuration.
On supported PowerEdge systems, you can generally access the configuration through:
F2 → System Setup → Device Settings → RAID Controller
The exact interface depends on the server generation and PERC controller.
Dell’s documentation for supported PowerEdge systems uses Device Settings and the RAID controller’s configuration management interface to manage virtual disks and physical drives.
You may see something similar to:
PERC H730P / H740P / H755
or another PERC controller.
After installing the new HDD, open the physical disk section of the RAID controller.
Look for the new drive.
It may appear as:
Ready / Unconfigured / Unconfigured Good
or a similar status depending on the controller.
Do not immediately initialize or format the drive from Windows.
First determine whether you want to:
A. Add the HDD to the existing RAID
or
B. Create a separate Virtual Disk using the new HDD.
These are two different configurations.
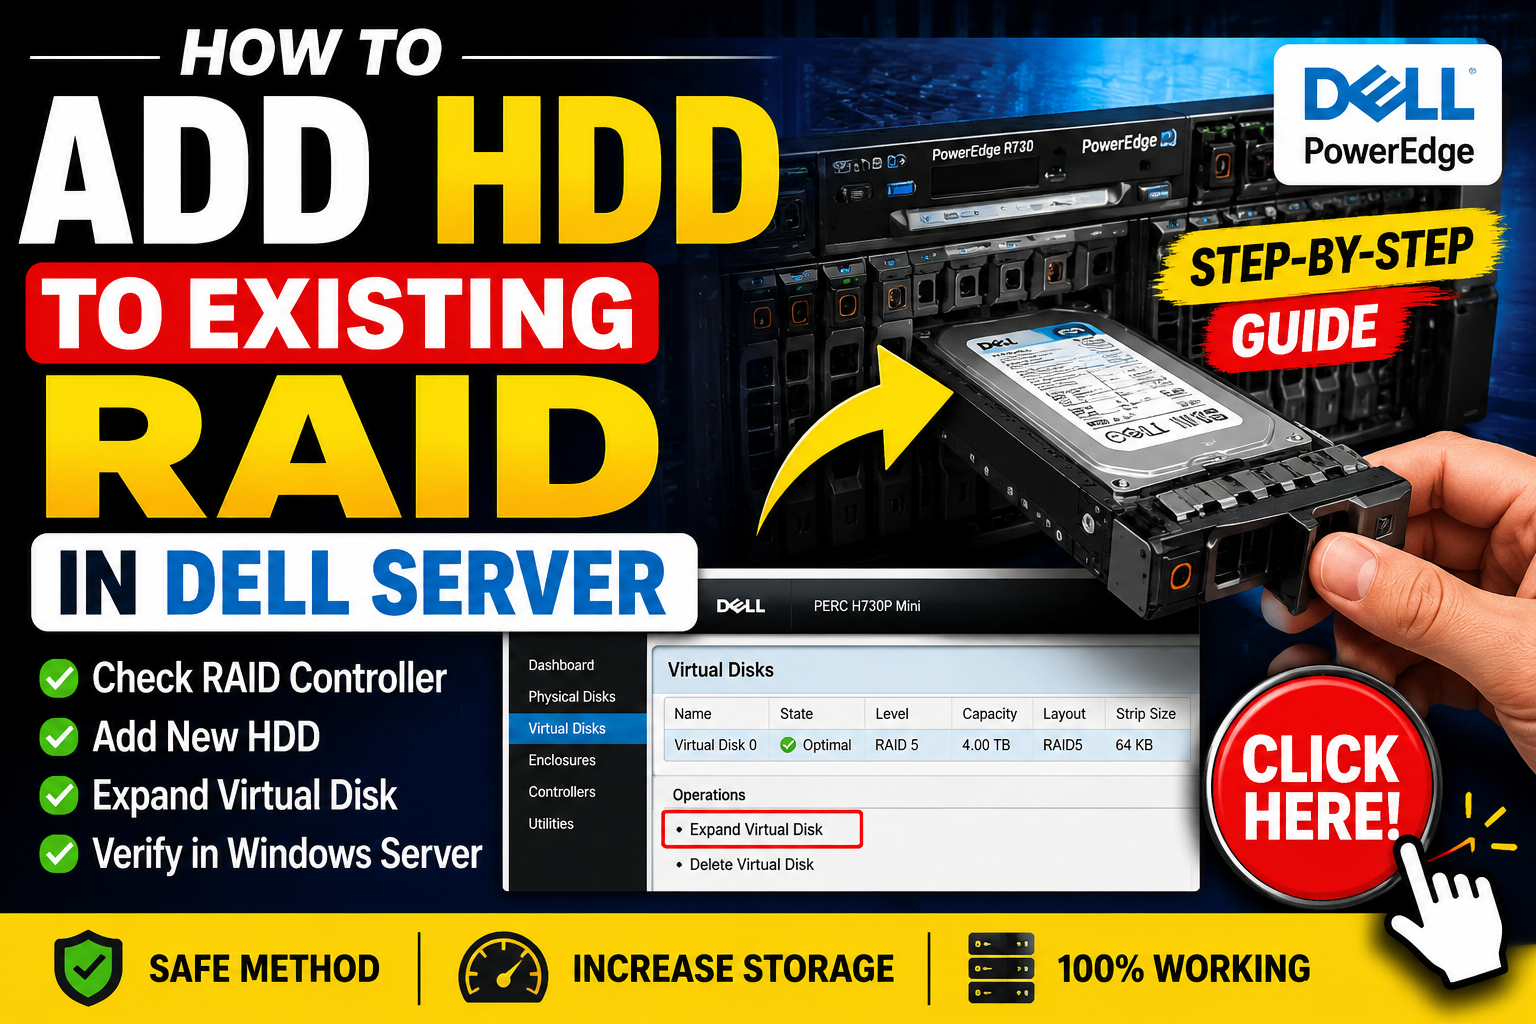
If your PERC controller and RAID level support Online Capacity Expansion, you can use the RAID controller’s expansion/reconfiguration function.
On supported controllers, the general process is:
Virtual Disk Management → Select Existing Virtual Disk → Operations → Expand Virtual Disk / Reconfigure
The available options depend on the RAID level and controller.
Dell documents an OCE workflow where you select the existing virtual disk, choose the expansion operation, and add physical disks to the disk group.
When the RAID controller displays available physical disks, select the new HDD that you want to add.
Before confirming, carefully check:
Dell’s RAID documentation notes that drive compatibility rules apply during expansion, including restrictions involving different drive technologies such as SAS/SATA and HDD/SSD in applicable configurations.
Double-check the drive selection before clicking Apply/OK.
After selecting the new HDD, confirm the operation.
Depending on the controller, the option may appear as:
Expand Virtual Disk
or
Reconfigure
or another equivalent operation.
For supported PERC controllers, Dell describes adding physical disks to an existing virtual disk as an Online Capacity Expansion operation.
The controller will then start processing the RAID expansion.
This is one of the most important steps.
Do not interrupt the RAID expansion.
Depending on:
the operation can take a considerable amount of time.
During this process, the server may continue running, but storage performance can be reduced.
Dell notes that OCE can affect disk performance while the expansion is in progress.
Dell specifically warns that abruptly stopping an OCE operation can make data on the virtual drive unrecoverable.
After starting the operation, return to:
Virtual Disk Management
Check the status of the RAID virtual disk.
Depending on the controller, you may see statuses such as:
Wait until the RAID controller reports a healthy/optimal state.
Also check the physical disks to make sure there are no failed or degraded drives.
Once the RAID expansion has completed, check the virtual disk again.
The capacity should now reflect the expanded storage configuration.
For example:
RAID 5
3 × 2 TB HDD
Approximate usable capacity:
4 TB
4 × 2 TB HDD
Approximate usable capacity:
6 TB
The exact usable capacity depends on the RAID level and controller configuration.
After the RAID controller has successfully expanded the virtual disk, log in to Windows Server.
Press:
Win + X → Disk Management
or run:
diskmgmt.msc
Look for the existing disk.
You may see additional Unallocated Space after the RAID virtual disk has been expanded.
For example:
Disk 0------------------------------------C: 500 GBD: 1.5 TBUnallocated: 2 TB
If the existing partition needs to use the new capacity, you can extend the appropriate volume.
If the additional space appears as Unallocated, right-click the appropriate partition.
Select:
Extend Volume
Follow the Windows wizard and assign the available space.
After completion, open:
This PC
and verify that the drive capacity has increased.
Sometimes you may not want to modify the existing RAID.
In that situation, another option may be to create a separate Virtual Disk using the new physical drive(s), provided the controller supports the desired configuration.
Dell’s PERC documentation supports creating virtual disks by selecting the RAID level and physical disks.
This can be useful when you want separate storage rather than expanding the existing RAID volume.
| Configuration | Purpose |
|---|---|
| Add HDD to existing RAID | Increase capacity of existing RAID |
| Create new Virtual Disk | Create separate storage |
| Hot Spare | Keep a replacement drive ready for a failed disk |
| Replace failed HDD | Restore a degraded RAID |
Don’t confuse a Hot Spare with adding storage capacity. A hot spare is primarily used to replace a failed drive in a RAID configuration. Dell documents hot-spare management separately from RAID expansion.
Before modifying a production server, always:
RAID is not a backup.
Keep a verified backup of important server data.
Do not start an expansion if the existing RAID is already degraded or another critical RAID operation is running.
Make sure the new HDD is compatible with the PERC controller and existing configuration.
Expansion capabilities depend on the controller and RAID level.
RAID expansion can take a long time.
Use the available Dell management interface to monitor the operation.
Possible causes include:
Check the physical disk status in the PERC controller.
A drive with an existing RAID configuration may show as Foreign.
Do not immediately clear the foreign configuration.
First determine where the drive came from and whether it contains a previous RAID configuration.
Dell provides a separate procedure for importing a foreign configuration when appropriate.
If the RAID controller shows the expanded capacity but Windows does not show additional usable space, check:
Disk Management → Unallocated Space
The RAID expansion and Windows partition expansion are separate operations.
Adding an HDD to an existing RAID in a Dell PowerEdge server can be a useful way to increase storage capacity, but it should be performed carefully.
The basic workflow is:
Check RAID → Check PERC → Check HDD → Confirm compatibility → Expand/Reconfigure Virtual Disk → Wait for RAID operation → Verify RAID → Check Windows Disk Management → Extend Volume
The exact steps and available options depend on your Dell PowerEdge model, PERC controller and RAID level, so always verify the controller-specific procedure before making changes. Dell provides controller-specific documentation and tools for RAID configuration and online capacity expansion.
For supported RAID/controller combinations, Online Capacity Expansion or RAID reconfiguration is designed to expand an existing virtual disk while retaining the data. However, a verified backup should always be taken first.
No. Drive compatibility, capacity, interface and RAID-controller rules must be checked before adding a drive.
No. The RAID virtual disk may need to be expanded first, and then the Windows partition/volume may need to be extended.
No. RAID provides redundancy or availability depending on the RAID level, but it does not replace a proper backup.
Yes. RAID expansion/reconfiguration can reduce storage performance while the operation is running.