Physical Address
304 North Cardinal St.
Dorchester Center, MA 02124
Physical Address
304 North Cardinal St.
Dorchester Center, MA 02124

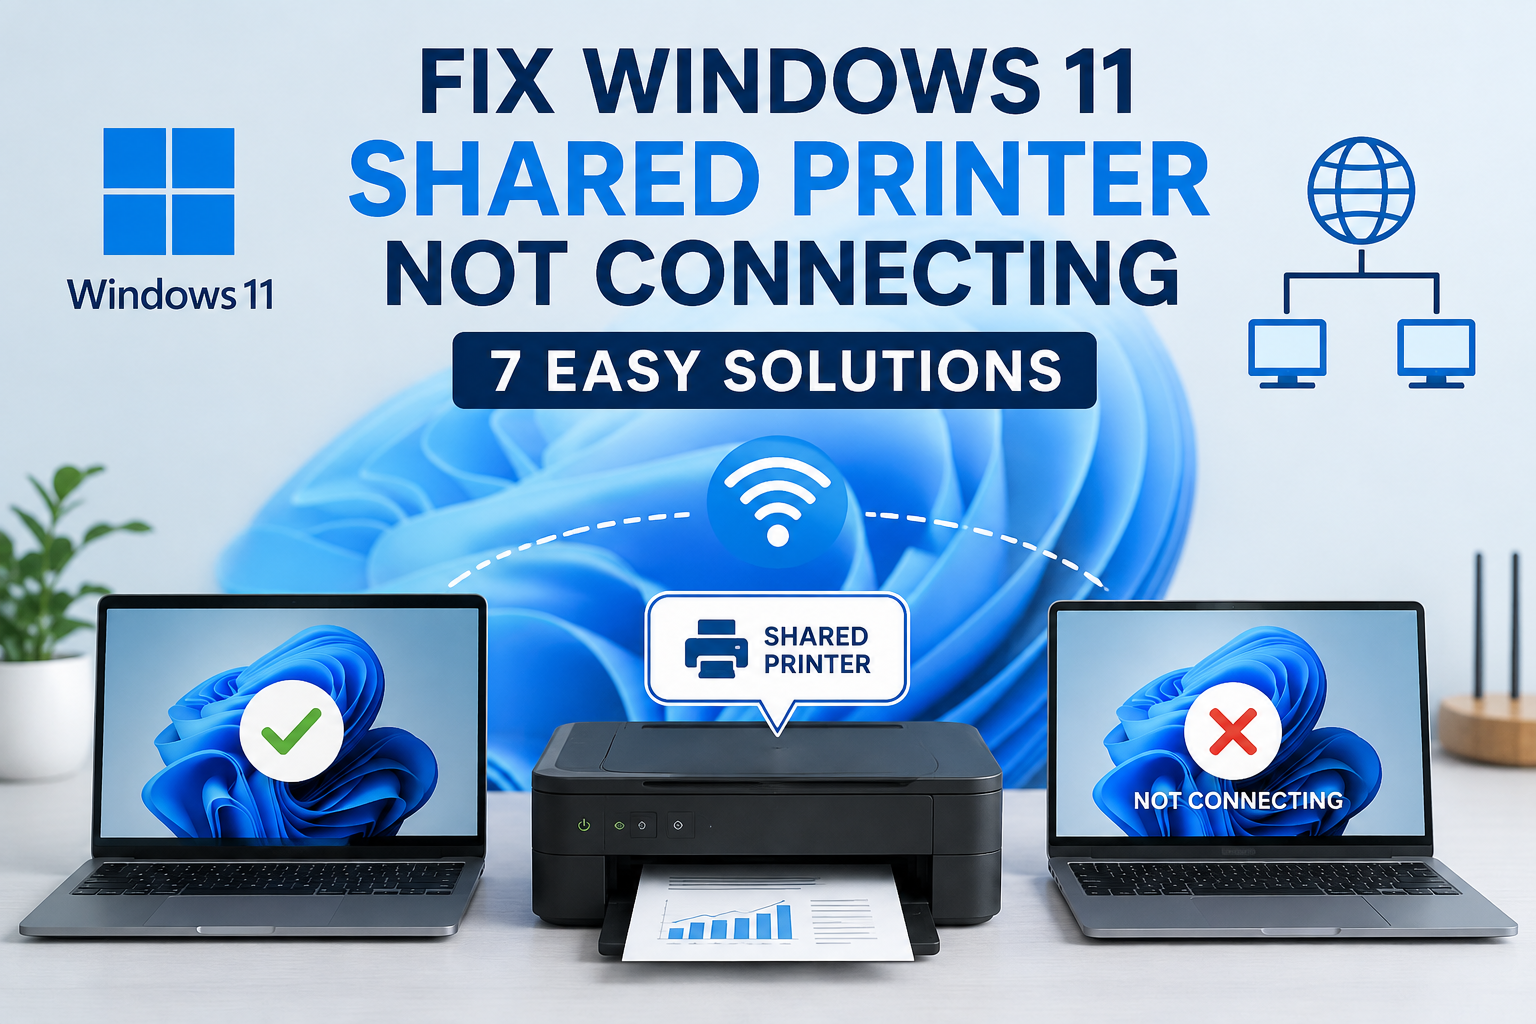
Windows 11 shared printer not connecting? This is a common problem when printer sharing, network discovery, permissions, credentials, or printer drivers are not configured correctly. In this guide, I’ll show you 7 practical ways to fix a shared printer that is not connecting in Windows 11.
In this guide, I’ll show you 7 practical ways to fix a shared printer that is not connecting in Windows 11. Try the solutions one by one, starting with the basic network and sharing checks.
If the printer is connected to another Windows PC, first make sure that printer sharing is enabled on the computer where the printer is physically connected.
Follow these steps:
OfficePrinter.After enabling sharing, make sure the host computer is turned on and connected to the same local network as the computer from which you want to use the printer.
Tip: If you cannot see the Sharing tab, the printer may be connected through a different setup or your Windows edition/settings may restrict some sharing options.
The computer that is sharing the printer and the computer you are using to connect to it should be connected to the same local network.
For example, both computers can be connected to the same Wi-Fi router or the same wired network.
To check the network:
If the computers are connected to different Wi-Fi networks, guest Wi-Fi, or isolated networks, Windows may not be able to find or connect to the shared printer.
Tip: If you can access a shared folder from the host computer using its computer name, the network connection is usually working correctly.
Network Discovery and File and Printer Sharing need to be enabled on the Windows computer that is sharing the printer. These settings allow other devices on the local network to discover the computer and access shared resources.
Follow these steps:
If your network is currently set as Public, change it to Private first. Only set a network as Private when you trust the network, such as your home or office network.
Tip: If Network Discovery keeps turning off or other computers are not visible under Network in File Explorer, check that the required Windows sharing services are running. Microsoft lists services such as Function Discovery Provider Host and Function Discovery Resource Publication as important for network discovery.
If Windows asks for a username and password when you try to access the shared printer, the computer hosting the printer may require valid network credentials.
First, test whether you can access the host computer:
\\Office-PCIf you are unsure about the computer name, check it on the host computer under:
Settings → System → About → Device name
Tip: If Windows keeps asking for credentials even after entering the correct username and password, make sure you are using an account that actually exists on the host computer. Avoid saving credentials on shared or public computers unless you trust the device and network.
If the host computer itself cannot be accessed using its computer name, fix the network-sharing problem first before troubleshooting the printer connection.
Microsoft: Fix shared printer connection problems in Windows
If Windows does not automatically find the shared printer, you can try adding it manually using the computer name and printer share name.
\\ComputerName\PrinterShareName
For example:
\\Office-PC\OfficePrinter
Tip: You can find the computer name on the host PC under Settings → System → About → Device name. The printer’s share name can be checked from Printer properties → Sharing.
If manually connection also failed
If the printer still does not connect, try accessing the host computer first by entering \\ComputerName in File Explorer. If the computer itself cannot be reached, the problem is likely related to network connectivity, sharing settings, firewall rules, or permissions rather than the printer itself.
Sometimes Windows stores an incorrect printer configuration or an old connection. Removing the printer and adding it again can resolve connection problems.
Follow these steps:
\\ComputerName\PrinterShareName
Tip: Removing and re-adding the printer is especially useful when Windows shows an old printer entry, the printer was previously connected with a different name, or the printer configuration has become corrupted.
An outdated, incompatible, or corrupted printer driver can also prevent a shared printer from connecting correctly in Windows 11. Make sure the printer driver on the client computer is compatible with your printer model and Windows version.
Follow these steps:
Tip: Avoid installing drivers from unknown third-party websites. Always prefer the printer manufacturer’s official support page.
1. Why is my shared printer not showing in Windows 11?
2. How do I connect to a shared printer using its IP address?
3. Why does Windows 11 keep asking for network credentials?
4. Can Windows 11 connect to a printer shared from Windows 10?
5. Why does my shared printer show as offline?
Windows 11 may not detect a shared printer if Network Discovery or File and Printer Sharing is disabled. Make sure both computers are connected to the same network and that the printer is properly shared on the host computer.
You can try adding the printer manually from Settings → Bluetooth & devices → Printers & scanners → Add device → Add manually. Depending on the printer and network configuration, you may be able to add it using the host computer’s IP address or network printer path.
This usually happens when Windows cannot authenticate with the host computer. Check that you are using a valid username and password from the host PC and that the network-sharing settings are configured correctly.
Yes. Windows 11 can generally connect to a printer shared from a Windows 10 computer, provided that network sharing, permissions, and compatible printer drivers are configured correctly.
A shared printer may appear offline if the host computer is turned off, disconnected from the network, the printer service is not working correctly, or Windows has lost the connection to the shared printer.
Shared printer problems in Windows 11 are usually caused by network configuration, printer sharing settings, permissions, credentials, or driver issues. By checking these settings step by step, you can usually identify and fix the problem without reinstalling Windows or changing the printer.
Start with the basics: make sure both computers are connected to the same network, confirm that the printer is properly shared, and check Network Discovery and File and Printer Sharing. If the printer still does not connect, try adding it manually and updating the printer driver.
If you are still unable to connect, check the host computer, firewall settings, Windows services, and printer-specific drivers. Following these troubleshooting steps should help you get your shared printer working again on Windows 11.